I'm starting up a weekly column where I make a miniature model every Saturday and post the results every Sunday, regardless of the outcome. I've been reading about miniature making a lot and I was surprised to discover how cheap and easy it can be to make them. Since I like to play Savage Worlds whenever I get the opportunity, I felt like miniatures would be a good hobby for me to get into.
My first project was a shrine to a goddess that had been corrupted by a mysterious evil. My supplies were:
- A sheet of foam board from Dollar Tree. $1
- A set of acrylic hobby paint with brushes. $3
- A bag of floral moss, also from Dollar Tree. $1
- A bag of miniature flocking. $2
- A bottle of Elmer's Glue-All. $3
- Scrap piece of wood.
- A ballpoint pen and a safety pin, from around the house.
- X-acto Knife
- Nail file
I start drawing my floor piece design with
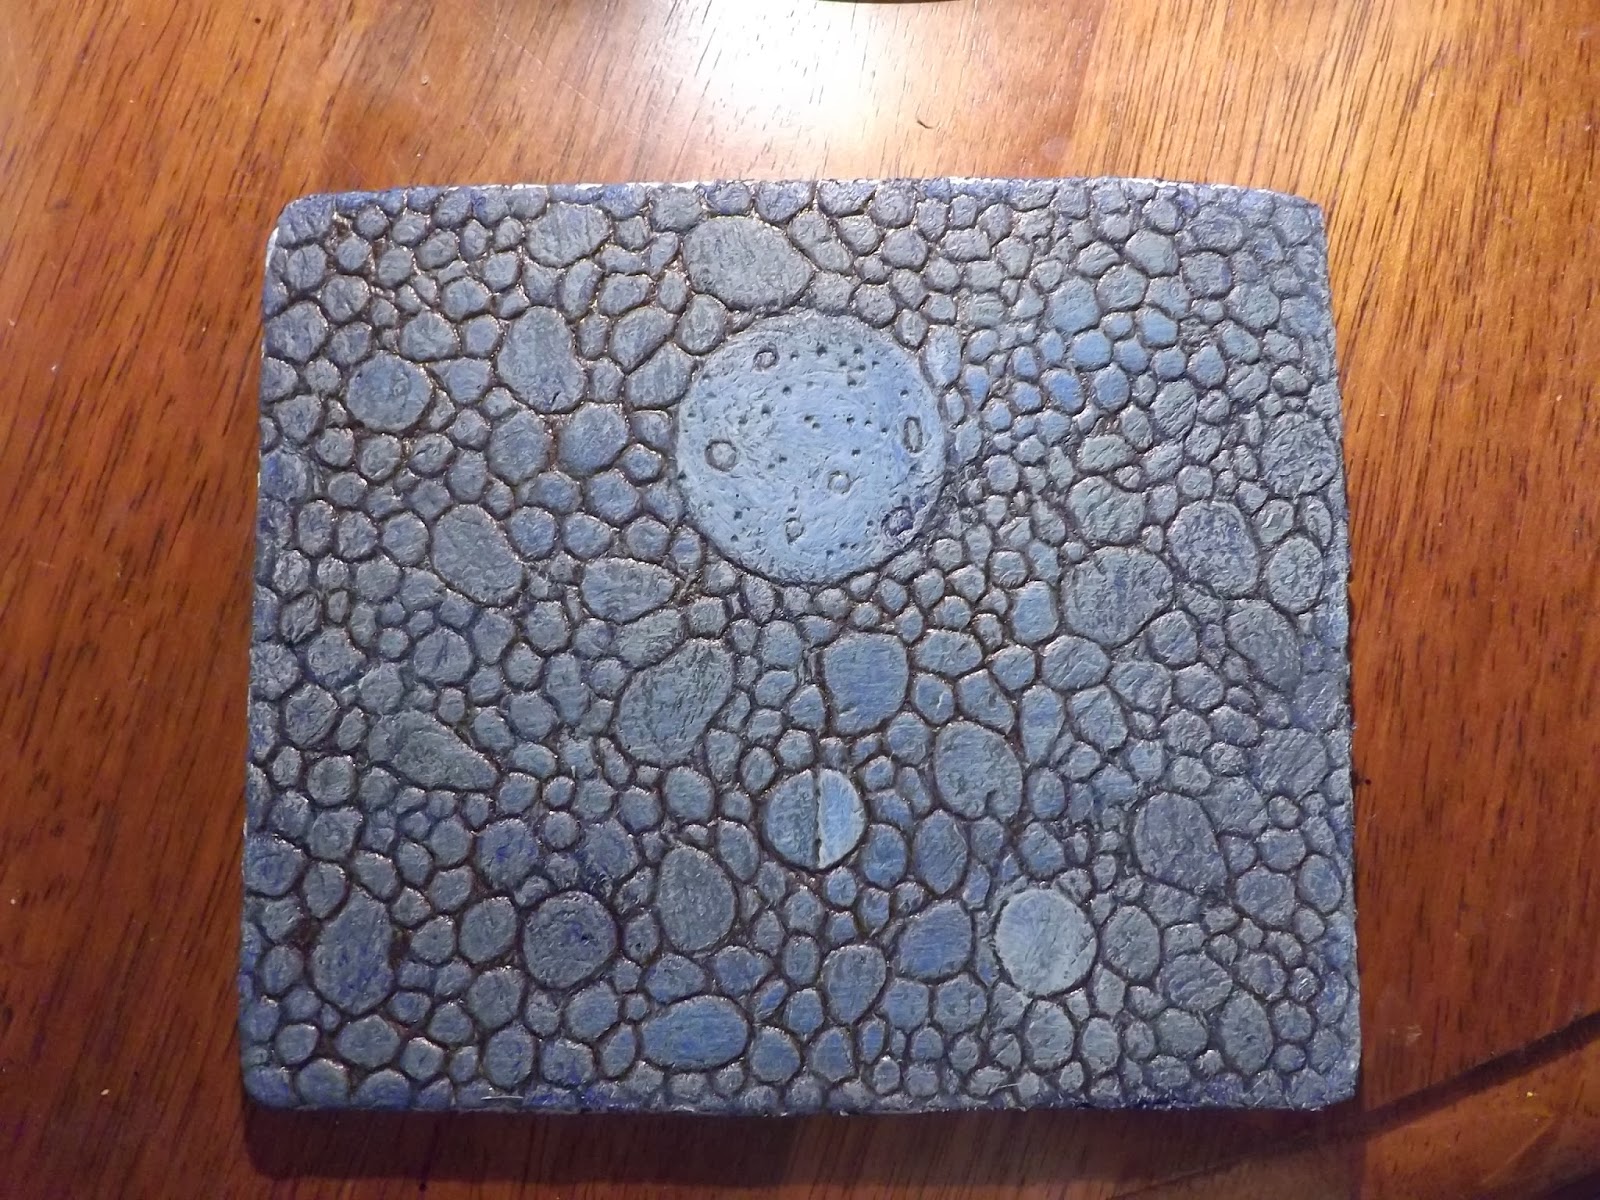
the ballpoint pen. I'm trying to make it look like old cobblestone. The ballpoint pen imprints on the foam board to give it a texture, and the ink helps to add depth when painting later.
Here's a good shot of how the pen creates a 3D effect on the foam. Just be careful because it's pretty much irreversible. Take your time drawing it out.
Here it's completely inked out. I've put lots of gaps in the cobblestone to make it look older, and I took the nail file out to do a little roughing up on the bigger stones. (Note: Always be careful when sanding foam, even with a nail file. The dust is very light and floats everywhere, and if you breathe it in it's there to stay.)
I also glued it to by wooden baseboard using the Elmer's Glue.
Wow! I decided to make the base coat blue because I figured I wouldn't use a lot of blue paint on other projects and it would be alright to have a blue undertone in the moon shrine. When painting I made sure to do everything in very light layers and not just pour it on because too much paint will fill in all those crevices that the pen created.
Here I've dry brushed a first layer of light gray on to the piece, putting a little extra on some of the circles there that are starting to look suspiciously like moons. In the upper-right corner I actually did exactly what I was warning against and put the paint on too thickly. I had to redo some of the lines with the pen.
Starting to look more like stone!
I've dry brushed a second layer of gray, this time slightly darker. I've also finished painting the moons.
Next I've squirted some white glue into the depressed areas of the stone and stuck a bit of moss and flocking down. I figure any self-respecting dungeon should have some moss.
Another angle.
Using the same techniques as above I make a back wall for my shrine room. I'm not adding side walls in case I decide to add more room tiles in later.
The last piece is going to be the shine itself. The base is made by two pieces of foam layered on either side and sanded to fit. The fine grain I added by running the needle of the safety pin over it very lightly about twenty or thirty times.
I wasn't happy with the way this came out, I had imagined it a bit more grand in my head. I think I'll try to replace it with a statue if I can find the right miniature, but it will work for now.
The end result. I'd say it didn't turn out to bad for my first real try at this stuff. Tune in next week for more and be sure to stay fanatic.


No comments:
Post a Comment